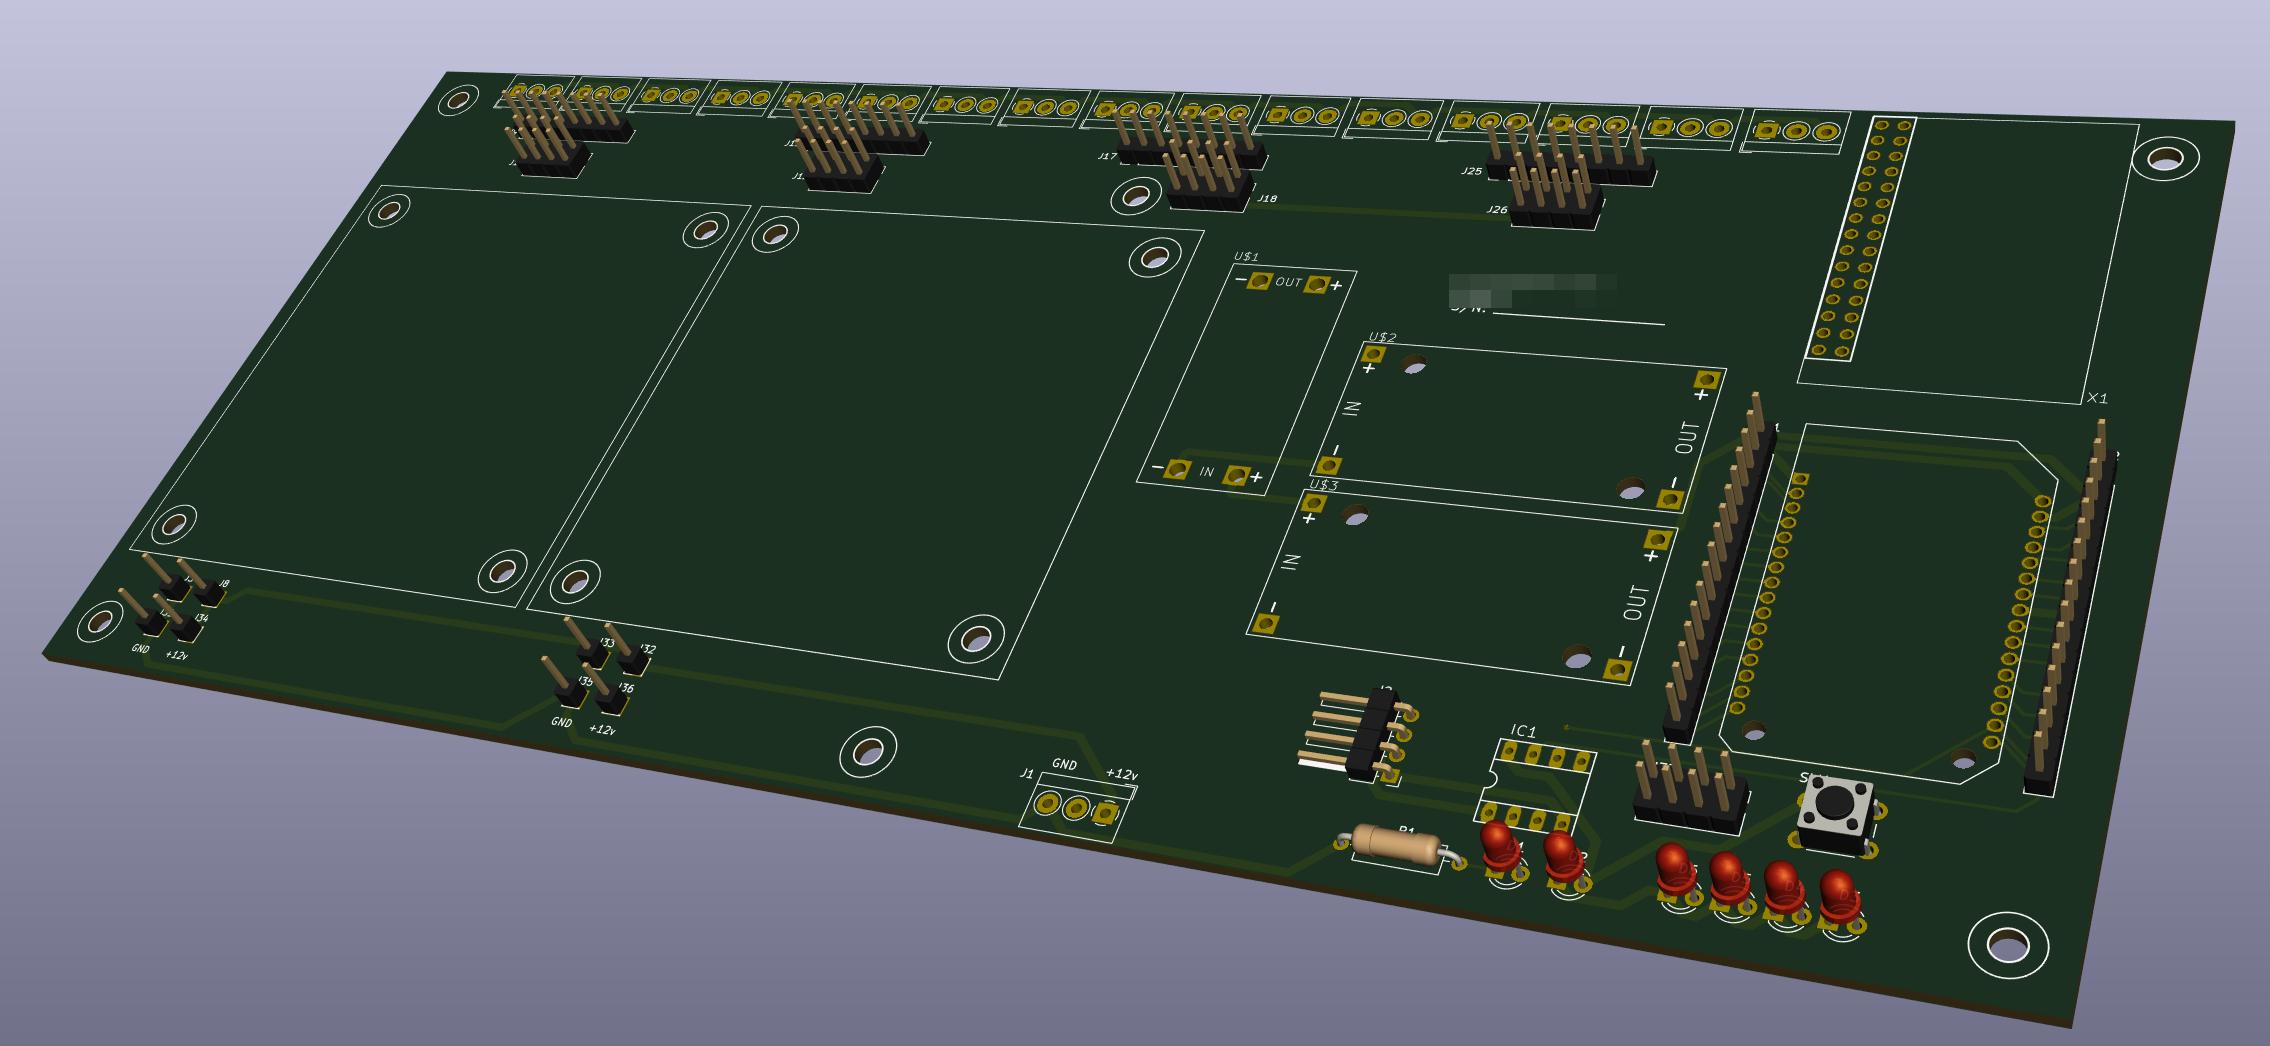
Adding an image to your KiCad EDA PCB
Had to add a logo/image on a PCB I recently made. As this PCB exceeded the size of the free Eagle CAD version I decided to give KiCad a try.
I was plesently surprised at how easy it was. Needs a bit getting used to regarding the component to footprint association but works like a charm !

Now about the subject of this blog post: Adding an image to a PCB in KiCad. At first I was sure there would simply be a "Import JPEG/PNG" and that would be it... Well no...
Adding an image is a 3 step process:

I was plesently surprised at how easy it was. Needs a bit getting used to regarding the component to footprint association but works like a charm !

Now about the subject of this blog post: Adding an image to a PCB in KiCad. At first I was sure there would simply be a "Import JPEG/PNG" and that would be it... Well no...
Adding an image is a 3 step process:
- Convert your image to a "kicad_mod" library
- Add the library to KiCad
- Add the image from the library to your PCB
Let's go through these 4 steps using the following jpeg:

Convert your image to a "kicad_mod" library
You can use the following tool to convert an image to a KiCad library and at the same time resize the image. Unfortunatly you can not resize the image within the PCB editor, so you need to resize it before.
Simply upload the image, select the proper scaling factor so that the image fits on your PCB. In this case I selected a 0.03 scaling factor which generated an image of 24mm x 18mm.
Once you have it as you want (using the "preview" checkbox), simply uncheck it and download the KiCad library file to your project folder.
Add the library to KiCad
In the PCB editor, go to the "Preferences" -> "Manage Footprint Libraries...". From that dialog click on the folder icon:
And select your project folder. This will create a new library entry to the name of your project folder. Click "OK" to close this dialog. The library is now added to KiCad.
Add the image from the library to your PCB
Finally the last part ! From your KiCad PCB editor, click on the "Add footprint" icon and click somewhere in your PCB to bringup the footprint selection dialog.
Scroll down to find your project name and expand to reviel your image part:
Click "OK" and place the image where ever you want on your PCB:
It's not a straight forward process and you will probably have to try it a few times before you have the image you want, but it works.


Comments
Post a Comment